Building a gaming PC that delivers peak performance without breaking the bank requires careful planning and knowledge of current hardware trends. Gamers often struggle to balance their budget constraints with the desire for smooth gameplay and impressive graphics.

Selecting the right components—from processors and graphics cards to storage solutions and cooling systems—forms the foundation of any successful gaming build. This guide cuts through the marketing hype to help you make informed decisions based on your specific gaming needs and budget limitations.
The rapidly evolving PC hardware landscape means today’s optimal build might look different from yesterday’s recommendations. Understanding which components provide the best value and performance for various gaming scenarios will help you create a system that remains competitive for years to come.
Understanding Core PC Components
Building an efficient gaming PC requires a solid understanding of the key components that work together to deliver optimal performance. Each part serves a specific function within the system and selecting the right components ensures compatibility, longevity, and value for your investment.
Central Processing Unit (CPU) Selection
The CPU acts as the brain of your gaming system, handling calculations and instructions that drive game mechanics and physics. When selecting a CPU, focus on core count, clock speed, and cache size for gaming performance.
Modern games benefit from processors with at least 6 cores, though 8 cores provide better future-proofing. Clock speeds above 4.0 GHz deliver excellent performance in most gaming scenarios.
For gaming builds in 2025, AMD’s Ryzen 7000 series and Intel’s 13th/14th generation processors represent the current performance leaders. Consider your budget carefully when choosing between these options.
Key CPU specifications to evaluate:
- Base and boost clock speeds
- Core/thread count
- Cache size
- TDP (thermal design power)
- Socket compatibility with your chosen motherboard
Graphics Card (GPU) Considerations
The GPU handles the rendering of images, animations, and visual effects in games. It’s typically the most expensive component and has the greatest impact on gaming performance.
Current generation GPUs from NVIDIA (RTX 40-series) and AMD (RX 7000-series) offer excellent performance at various price points. Consider the resolution and refresh rate of your monitor when selecting a GPU.
For 1080p gaming, mid-range cards like the RTX 4060 or RX 7600 provide sufficient performance. For 1440p or 4K gaming, higher-end models like the RTX 4070 or RX 7800 XT are recommended.
Memory capacity (VRAM) is crucial for handling high-resolution textures. For modern games at 1440p, 8GB is the minimum recommendation, while 12-16GB offers better future-proofing.
Motherboard Features and Compatibility
The motherboard connects all components and determines what hardware you can use in your build. Compatible CPU socket type should be your first consideration when selecting a motherboard.
Form factor affects case compatibility and expansion options. ATX offers the most expansion slots, while micro-ATX and mini-ITX are better for compact builds.
Important motherboard features to consider:
- CPU socket type (must match your processor)
- Chipset (determines features and overclocking capability)
- Memory support (DDR4 vs DDR5, max capacity, speeds)
- Expansion slots (PCIe 4.0/5.0 support)
- Connectivity options (USB ports, WiFi, Bluetooth)
Quality VRMs (Voltage Regulator Modules) are essential for stable overclocking and system performance. Higher-end motherboards include better power delivery systems and cooling for the VRMs.
Choosing the Right Memory and Storage

Memory and storage components are critical factors that determine your gaming PC’s performance. The right combination will significantly reduce loading times, eliminate in-game stuttering, and provide enough space for your growing game library.
RAM Specifications for Modern Games
RAM (Random Access Memory) serves as the temporary workspace for your PC’s active processes. For gaming in 2025, 16GB is now considered the minimum standard, while 32GB provides headroom for memory-intensive titles and background applications.
Speed matters as much as capacity. Look for DDR4-3200 or DDR4-3600 at minimum, with DDR5 options starting at 4800MHz offering future-proofing benefits. The performance difference becomes noticeable in CPU-intensive games and when multitasking.
RAM Considerations for Gaming:
- Capacity: 16GB (minimum), 32GB (recommended), 64GB (enthusiast)
- Speed: DDR4-3600 or DDR5-5200 for optimal performance
- Latency: Lower CL (CAS Latency) values provide better responsiveness
- Dual-channel: Always install matched RAM pairs for optimal bandwidth
Storage Solutions: SSDs vs. HDDs
The storage debate has largely been settled in favor of SSDs for gaming systems. Modern games benefit tremendously from the faster read/write speeds that solid-state drives provide.
SSD vs. HDD Performance Comparison:
| Feature | SSD | HDD |
|---|---|---|
| Game loading times | 10-20 seconds | 30-60+ seconds |
| Boot times | 5-10 seconds | 30-60 seconds |
| File transfer | 500-7000 MB/s | 80-160 MB/s |
| Price per TB | $70-100 | $20-40 |
A hybrid approach works well for budget-conscious builders. Use a smaller SSD (500GB-1TB) for your operating system and favorite games, with a larger HDD (2TB+) for media storage and less-played games.
NVMe Drives for Peak Performance
NVMe (Non-Volatile Memory Express) drives represent the pinnacle of storage performance currently available to consumers. These drives connect directly through the PCIe interface, bypassing the bottlenecks of SATA connections.
For gaming, PCIe 4.0 NVMe drives deliver read speeds up to 7,000MB/s and write speeds exceeding 5,000MB/s. This translates to near-instantaneous game loads and seamless open-world experiences with minimal texture pop-in.
The latest DirectStorage API and similar technologies leverage NVMe’s capabilities to stream assets directly to the GPU, further reducing loading screens. When selecting an NVMe drive, consider both raw speed and endurance ratings (TBW or terabytes written).
Recommended capacities: Start with a 1TB NVMe drive for your primary storage, as modern AAA game installations often exceed 100GB each with updates and DLC.
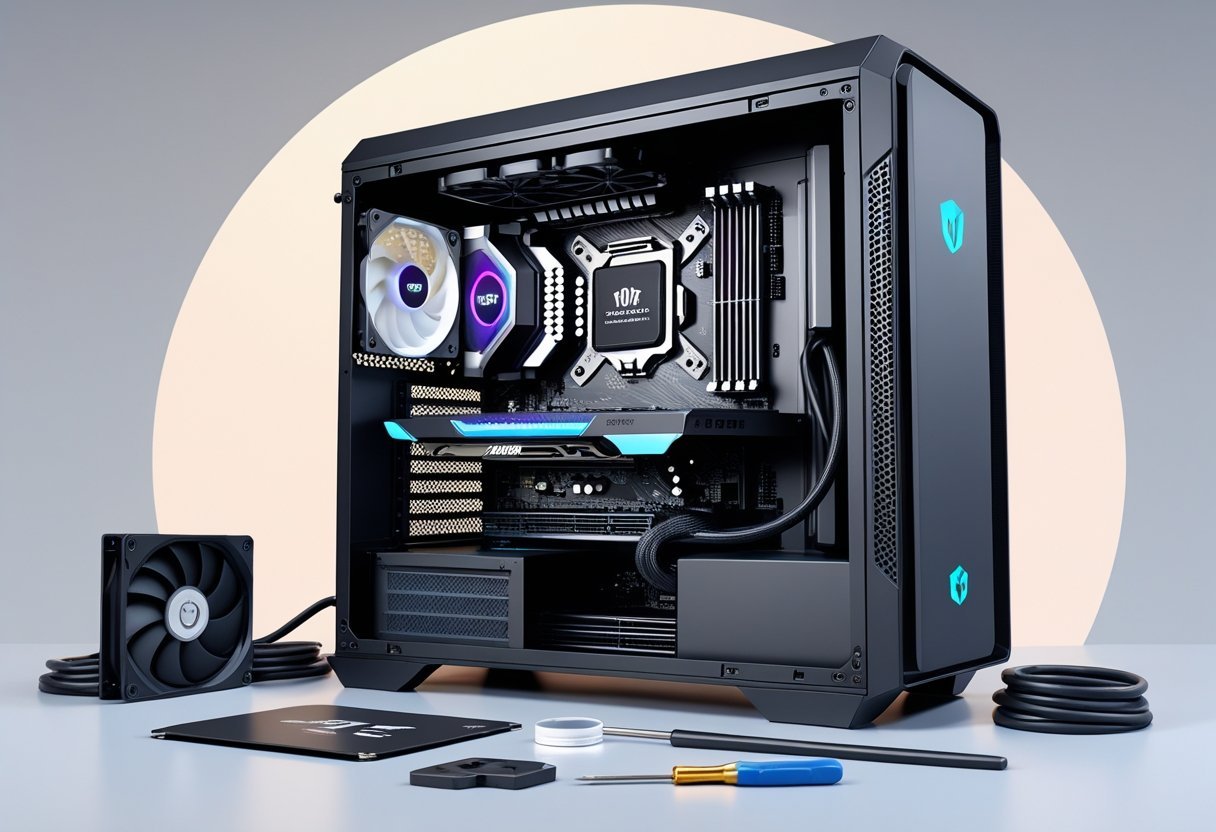
Optimizing Power and Cooling
The foundation of a reliable gaming PC rests on proper power delivery and effective heat management. These systems ensure your high-performance components can operate at their full potential without throttling or damage.
Selecting a Reliable Power Supply
A quality power supply unit (PSU) forms the backbone of any gaming build. Look for 80 Plus certification (Bronze, Silver, Gold, Platinum, or Titanium) which indicates efficiency ratings, with higher tiers wasting less energy as heat.
Consider wattage requirements by calculating your system’s power needs and adding 20-30% headroom for future upgrades. A 650-850W PSU suits most mid-range builds, while high-end systems with power-hungry GPUs may require 1000W or more.
Key PSU Features to Consider:
- Modularity: Fully-modular PSUs allow for connecting only needed cables
- Protection circuits: OVP, UVP, OCP, OTP for component safety
- Fan quality: Larger, quieter fans with smart fan control reduce noise
- Warranty length: Premium PSUs often come with 7-10 year warranties
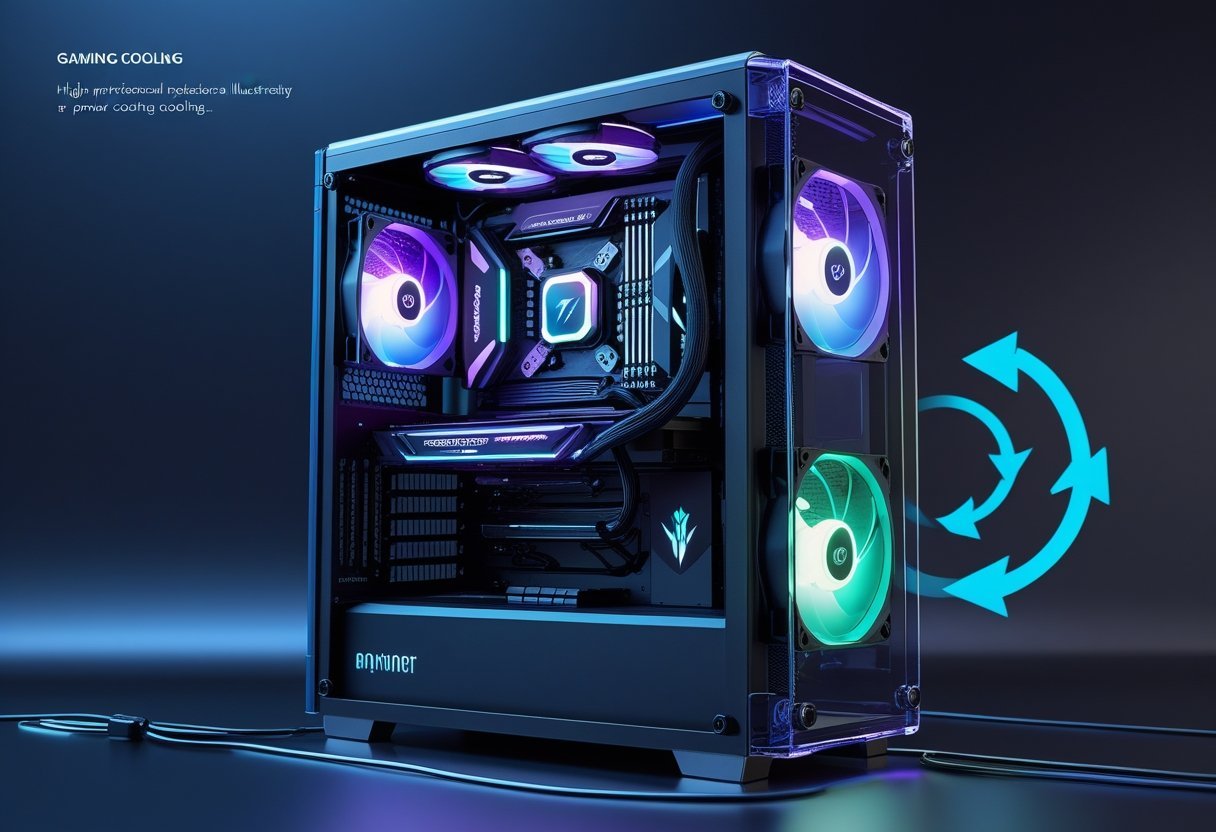
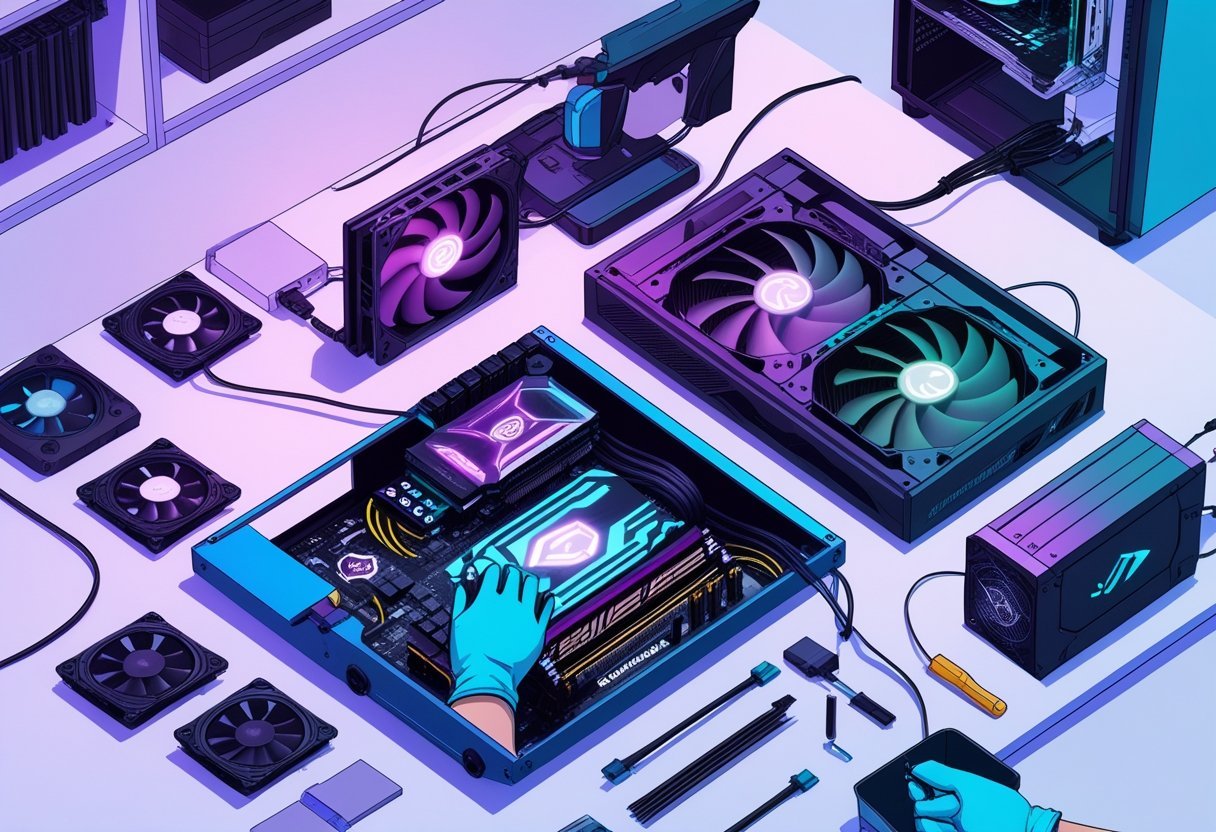
Effective Air and Liquid Cooling Options
Proper cooling prevents thermal throttling and extends component lifespan. Air cooling remains cost-effective and reliable for most builds, while liquid cooling offers superior thermal performance for overclocking.
Air Cooling Solutions:
- Tower coolers with 120-140mm fans provide excellent CPU cooling
- Case fans in a proper intake/exhaust configuration create positive air pressure
- Dust filters on intake fans reduce buildup and maintenance frequency
Liquid cooling systems come in two varieties: All-in-One (AIO) and custom loops. AIOs offer simplified installation with 240-360mm radiators being ideal for most gaming rigs. Custom loops provide maximum cooling potential but require maintenance and higher investment.
Component-specific cooling deserves attention too. Graphics cards benefit from adequate case airflow, while M.2 SSDs may need heatsinks to prevent thermal throttling during sustained operations.
Cable Management Techniques
Well-organized cables improve airflow, aesthetics, and system maintenance. Begin cable management during component installation rather than treating it as an afterthought.
Practical Cable Management Tips:
- Route cables behind the motherboard tray
- Use velcro straps or zip ties to bundle similar cables
- Leverage case-provided routing channels and tie-down points
- Consider custom-length or extension cables for cleaner builds
Modular PSUs significantly simplify cable management by eliminating unused cables. For non-modular units, tuck excess cabling into available case compartments away from airflow paths.
Leave adequate clearance around fans and heat-generating components. Even well-managed cables can impede airflow if positioned incorrectly. Tools like combs can maintain spacing between sleeved cables for both functionality and visual appeal.
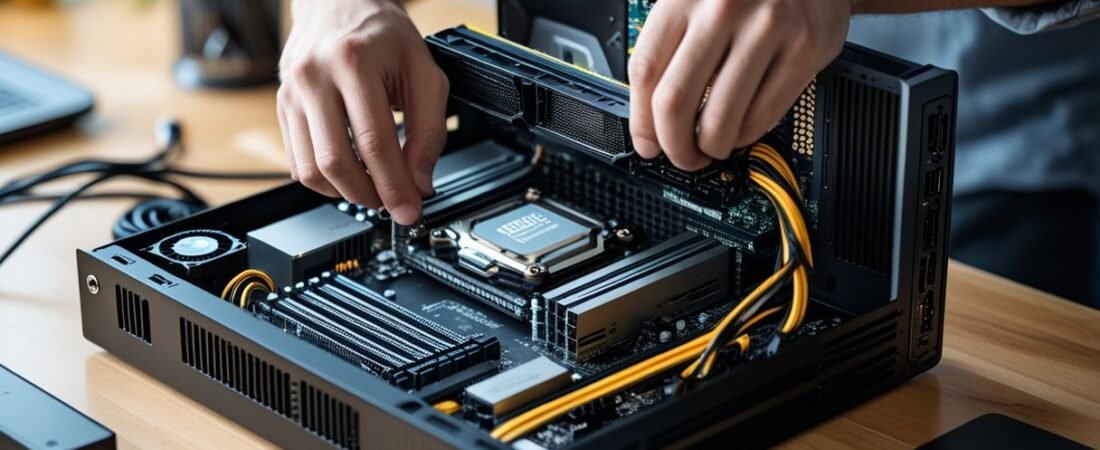
Assembling Your Gaming PC
Building your own gaming PC is a rewarding experience that ensures you get exactly the performance you want. With careful attention to component compatibility and proper installation techniques, you’ll have your new system up and running in no time.
Step-by-Step Build Process
Begin by preparing your workspace with good lighting and a static-free environment. Place your motherboard on its box as a temporary work surface and install the CPU first, carefully aligning the corner markers before gently lowering it into the socket.
Next, attach the CPU cooler following manufacturer instructions, applying thermal paste if it’s not pre-applied. Install RAM modules in the recommended slots, usually the second and fourth slots for dual-channel configurations.
Mount the motherboard into the case after installing standoffs, then connect power supply cables. Install storage drives in appropriate bays and connect SATA or power cables as needed.
Finally, install your graphics card in the primary PCIe slot and connect any additional power cables it requires. Double-check all connections before closing the case and connecting external cables.
Common Assembly Mistakes to Avoid
Forgetting to install I/O shields before mounting the motherboard is a frequent oversight that requires disassembling much of your work. Always install this small metal plate first.
Improper CPU installation can damage pins or sockets. Never force components—if significant resistance is felt, stop and recheck alignment.
Cable management neglect leads to poor airflow and overheating. Route cables behind the motherboard tray and use zip ties to organize them properly.
Static discharge can silently destroy components. Use an anti-static wrist strap or regularly touch a grounded metal surface while working.
Overlooking power connections is surprisingly common. The motherboard needs both the 24-pin main connector and the 8-pin CPU power cable to function.
Post-Build Inspection and Troubleshooting
Before powering on, perform a visual inspection of all connections. Verify that RAM is fully seated and the graphics card is properly installed with power connected if required.
The POST test (Power-On Self-Test) is your first indicator of success. If your system doesn’t boot, check that the power supply switch is on and the front panel connectors are correctly installed.
No display output often indicates graphics card issues. Try reseating the card or temporarily using motherboard video outputs if available.
For boot failures, disconnect non-essential components like extra storage drives and try again. Sometimes a single problematic component can prevent the system from starting.
Document successful BIOS settings after your first boot. This helps replicate your configuration should you need to reset the BIOS in the future.
Enhancing Performance and Longevity
Proper maintenance and optimization can significantly extend your gaming PC’s lifespan while maximizing its performance potential. These practices help you get the most value from your investment while ensuring reliable operation during intense gaming sessions.
Overclocking Best Practices
Overclocking pushes components beyond factory settings to achieve higher performance. Always begin with modest adjustments to clock speeds and voltages, typically 5-10% increments, rather than aggressive changes that could damage hardware.
Adequate cooling is non-negotiable for overclocked systems. Consider investing in premium thermal paste, additional case fans, or liquid cooling solutions to manage the extra heat generated.
Use reputable overclocking software like MSI Afterburner for GPUs or your motherboard’s BIOS/UEFI for CPU adjustments. These provide reliable controls and monitoring capabilities.
Stability testing is crucial. Run stress tests using tools like Prime95 or AIDA64 for at least 4-6 hours after each adjustment to ensure your system remains stable under load.
Document all changes you make. This creates a restore point if you encounter issues and helps track which adjustments yield the best performance gains.
System Monitoring and Benchmarking
Regular performance monitoring helps identify potential issues before they cause failures. Install hardware monitoring software like HWiNFO or CoreTemp to track temperatures, fan speeds, and component loads.
Key metrics to monitor:
- CPU/GPU temperatures (ideally below 80°C under load)
- Memory usage and frequency
- Storage drive health statistics
- Power supply voltages
Benchmark your system quarterly using standardized tools like 3DMark, Cinebench, or Unigine Heaven. Record these results to track performance changes over time and detect gradual degradation.
Dust accumulation significantly impacts cooling efficiency. Clean your PC’s interior every 3-6 months using compressed air and lint-free cloths. Focus on fans, heatsinks, and radiator fins where dust commonly collects.
Update drivers and firmware regularly. Manufacturers often release optimizations that improve performance and stability without requiring hardware changes.
Peripheral Selection for Gaming
Your gaming experience extends beyond the PC itself to the peripherals that connect you to your virtual world. Choosing the right input and output devices can significantly impact your gaming performance and overall enjoyment.
Monitors and Display Technologies
Monitor selection represents one of the most critical peripheral decisions for gamers. Resolution affects visual clarity, with 1080p serving as the entry point while 1440p offers an excellent balance between performance and visual fidelity. For competitive gaming, refresh rate matters more than resolution—look for 144Hz at minimum, with 240Hz or even 360Hz providing smoother motion for esports titles.
Response time measures how quickly pixels change color, with 1ms being ideal for gaming. Panel technologies each offer distinct advantages: TN panels deliver speed but poor viewing angles, IPS provides color accuracy with decent speed, while VA offers contrast at the expense of response time.
Adaptive sync technologies like NVIDIA G-Sync and AMD FreeSync eliminate screen tearing by synchronizing your monitor’s refresh rate with your GPU’s frame output. For immersive experiences, ultrawide monitors with 21:9 aspect ratios provide expanded peripheral vision in compatible games.
Gaming Keyboards and Mice
Mechanical keyboards dominate the gaming space due to their durability, tactile feedback, and customizable actuation points. Switch types significantly impact gaming performance—linear switches (like Cherry MX Red) offer smooth keypresses without tactile bumps, making them preferred for rapid inputs in competitive games.
Key features to prioritize include N-key rollover to prevent ghosting, programmable macro keys for complex commands, and RGB lighting for both aesthetics and functional game integration. Wireless keyboards have become viable gaming options with latency now comparable to wired models.
Gaming mice should match your grip style—palm, claw, or fingertip. Sensor quality determines tracking accuracy, with modern optical sensors offering flawless tracking up to 25,000 DPI. Weight preference varies by game genre, with FPS players typically favoring lighter mice (under 80g) for quick movements.
Consider mice with adjustable weights, programmable buttons, and ergonomic designs that prevent fatigue during extended sessions. Polling rates of 1000Hz ensure your inputs register with minimal delay between physical movement and on-screen response.
Future-Proofing Your Gaming PC
Building a gaming PC that remains relevant for years requires strategic component selection and awareness of upcoming technologies. Planning ahead can save money and reduce the frequency of major upgrades.
Upgradeable Components
When building a gaming PC with longevity in mind, focus first on the motherboard. Select a motherboard with the latest socket type and sufficient expansion slots to accommodate future components.
Look for boards with multiple M.2 slots for additional NVMe storage and PCIe 4.0 or 5.0 support for future graphics cards.
Power supplies deserve special attention—choose one with 20-30% more wattage than your current build requires. This headroom allows for component upgrades without replacing the PSU.
Key upgradeable components to prioritize:
- Modular power supplies (750W+ recommended)
- Cases with ample space and cooling options
- Motherboards with latest chipsets and numerous expansion slots
- RAM configurations with empty slots for future expansion
Compatibility with Emerging Technologies
Stay current with developing standards like PCIe 5.0, DDR5 memory, and USB4. These technologies will become increasingly important for gaming performance over the next 2-3 years.
Consider a motherboard with Wi-Fi 6E or 7 support, as online gaming continues to demand more bandwidth and lower latency. DirectStorage technology compatibility is becoming essential for reducing game loading times.
Emerging technologies to watch:
- Ray tracing capabilities
- AI acceleration features
- HDMI 2.1 for 4K/8K gaming
- PCIe 5.0 for future storage and graphics cards
Research component manufacturers’ roadmaps to anticipate upcoming standards. Many major chipmakers publish their development plans, helping you make informed decisions about which technologies will become mainstream.
Energy Efficiency and Noise Reduction
Building a powerful gaming PC doesn’t mean you must accept high electricity bills and disruptive noise levels. Modern components offer excellent performance while maintaining efficiency and quieter operation.
Low-Power Hardware Choices
Energy-efficient components can reduce power consumption without sacrificing gaming performance. CPUs with lower TDP (Thermal Design Power) ratings, such as AMD’s Ryzen 5000 series or Intel’s 12th/13th generation processors with efficiency cores, draw less power during regular usage.
For graphics cards, consider models with efficiency-focused designs. NVIDIA’s RTX 4000 series and AMD’s RX 7000 series offer performance-per-watt improvements over previous generations. Many models include zero-RPM fan modes that stop fans completely during light loads.
Power Supply Selection:
- 80 PLUS Gold/Platinum/Titanium certified PSUs (higher efficiency)
- Correctly sized wattage (avoid excessive overhead)
- Modern ATX 3.0 PSUs for better power regulation
Energy-efficient storage options like M.2 NVMe SSDs consume less power than traditional HDDs while delivering superior performance.
Quiet Operation Strategies
Noise reduction begins with proper case selection. Look for cases with sound-dampening materials and adequate airflow to prevent components from overheating and ramping up fans.
Fan Configuration Best Practices:
- Larger fans (140mm vs 120mm) move more air at lower RPMs
- Quality fans with fluid-dynamic or magnetic bearings
- PWM-controlled fans that adjust speed based on system needs
Consider aftermarket CPU coolers like Noctua NH-D15 or be quiet! Dark Rock Pro 4, which offer superior cooling with minimal noise. For extreme silence, closed-loop liquid cooling systems can be effective when paired with quality fans.
Fan curves can be customized through motherboard BIOS or software like MSI Afterburner. Setting a gradual increase prevents sudden noisy fan ramp-ups during gaming sessions.
Vibration-dampening mounts for drives and fans eliminate mechanical noise transmission through the case.
Final Thoughts and Recommendations
Building a gaming PC is a rewarding project that delivers personalized performance for your specific needs. The components you select should align with your gaming preferences, budget constraints, and future upgrade plans.
Budget allocation is crucial for balanced performance. Prioritize the GPU and CPU, which typically account for 30-40% and 15-20% of your total budget respectively.
Consider your monitor’s resolution and refresh rate when selecting components. A 4K display requires more powerful hardware than a 1080p setup.
Cable management isn’t just aesthetic—it improves airflow and system temperatures. Take time to route cables properly during assembly.
Test your system thoroughly after building. Run benchmark software to verify component performance and monitor temperatures under load.
Popular component combinations for different budgets:
| Budget Level | Recommended CPU | Recommended GPU |
|---|---|---|
| Entry ($700) | Ryzen 5 7600X | RTX 4060 |
| Mid ($1200) | Intel i5-14600K | RTX 4070 |
| High ($2000+) | Ryzen 9 7950X | RTX 4080 Super |
Remember that technology evolves rapidly. Building with future upgrades in mind can extend your PC’s lifespan and save money long-term.
Regular maintenance ensures optimal performance. Clean dust from components quarterly and update drivers monthly for best results.